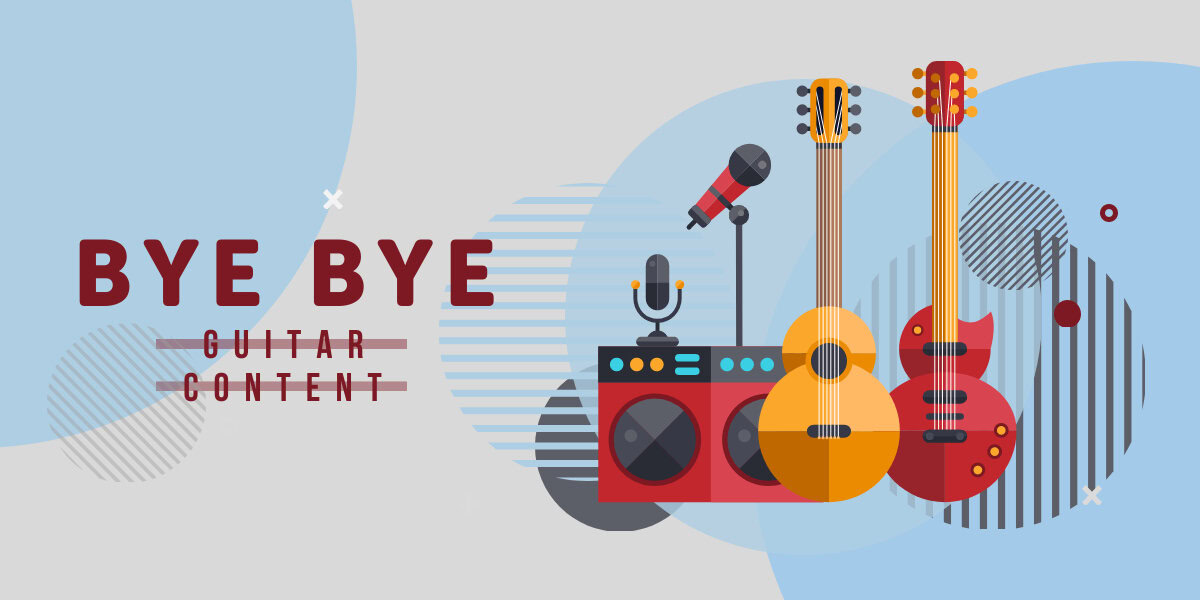
Recording in the AmpliTube MultiTrack Recorder on an iPhone

A few things have changed since I wrote my last article about AmpliTube on the iPhone. Enhancements have been made, new features have been added and the awesome new Slash range of effects and amps has been released. I purchased the pack within my instance of AmpliTube and haven’t looked back since. The tone is awesome.

Let me share some of that tone in a rundown I’ll call Recording from within AmpliTube on the iPhone.

When you are recording within AmpliTube, you have the option of recording to a metronome (which doesn’t end up in the recordings thankfully) or you can import a backing track to then play your guitar parts over. I chose the latter. For this article I put together a very quick and easy drum track in InstantDrummer. I then exported the WAV file from InstantDrummer so I could open it in the Song screen of AmpliTube.

From this screen I chose the To Rec option which imported my drum track into the AmpliTube recorder. One of the things I like about the recorder section of AmpliTube is how the editing and playback components are separated from the mixing and effect placement screens.

The main editing screen looks like an old-school cassette tape. It reminds me of the first time I recorded myself (with friends on bass and drums) in the garage on a basic cassette recorder. Ah … the 80s.

This screen allows you to rename your track, scroll back and forth through the song and a whole lot more. I use this screen to start recording (using the Record button) and to stop recording (using the Play button).

The recording I put together consists of six individual guitar tracks and the initially imported drum track. Sorting all of these out is done in the Mixer screen.

The Mixer screen allows you to pan each individual track from left to right, adjust track volume, individualise track reverb levels and more. You arm the track you wish to record on (using one of the four numbered buttons towards the bottom of the screen) and turn the effects on or off using the FX button at the top of the screen.

If you don’t commit the effects to a recorded track (this is a permanent change) the effects will only be heard on the track that has the FX button activated. When you are certain you want the effects that are currently in use to be applied to the active track, press and hold the FX button. This track now has effects permanently applied to it.

As I mentioned earlier, my song has six guitar parts in it. There are two parts (left and right speakers) for the introductory clean arpeggio piece, two parts (left and right speakers again) for the introductory clean chord piece and two parts (you guessed it … left and right speakers) for the final distorted piece. Add the drum track and you can see that there are more tracks than the AmpliTube 4-Track recorder can handle. That would be true if not for the awesome Bounce feature.

Clicking the Bounce button allows you to merge all of the open tracks into one mixed track leaving three empty tracks for you continue recording in. It is of course important to ensure you have your effects, volumes and playing skills at levels you’re happy with before bouncing.

Once you have recorded and mixed all of your tracks you can apply the inbuilt Master Effects to clean up and/or perfect your sound. The Reverb, Equalizer (American spelling) and Compressor add some pretty awesome finishing touches to your recording.

When you are finished, it’s a simple process to export your track so you can share it via Email, FTP, File Sharing (via iTunes) or through your SoundCloud account. The export feature is located on the recorder’s main editing screen (the cassette tape screen). Click the Edit button to the right of your song title, ensure your track is selected and click the Export button.

You now have a track that can be shared with the world. You can listen to the track I exported for sharing at the end of this article. If you like the song and/or the tone used in the guitar parts you’ll need the Slash effects and amps in AmpliTube.

Below is my recording and some screenshots of the settings I used. Enjoy.

Leave a Reply

Your email address will not be published. Required fields are marked *

This site uses Akismet to reduce spam. Learn how your comment data is processed.